
Chocolate Cinnamon Rolls
They taste good separate, why not together?
Prep Time
40 minutes + 2 Hours/Overnight
Cook Time
20-25 Minutes
🍴 Serves
12-14
Ingredients
- Dough
- 3/4 cup milk
- 1/4 cup sugar
- 2 1/4 teaspoons yeast (1 package)
- 1/2 stick butter (4 Tablespoons), room temp
- 2 eggs
- 3 cups flour
- Filling
- 1/2 stick butter (4 Tablespoons)
- 2/3 cup brown sugar
- Cinnamon (measure with your heart)
- 1 cup chocolate chips
Directions
- Heat milk, add in yeast and sugar, wait 15 minutes
- Mix in butter and eggs to yeast mixture
- Add in flour, while mixing, until dough is no longer sticking to sides of bowl
- Cover bowl and allow dough to rise (either for 1 hour or overnight)
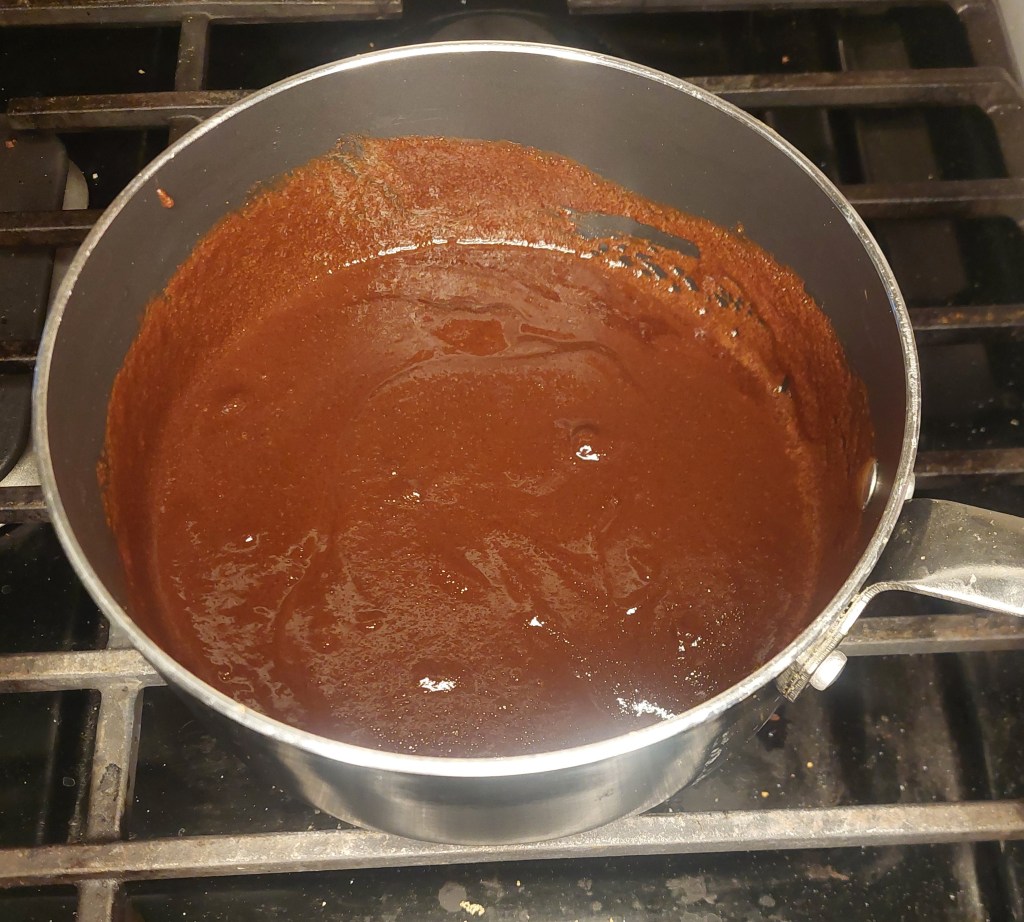
- Melt butter in either microwave or on stovetop and mix in other ingredients
- Roll out dough onto floured surface approximately 15 x 10 inches
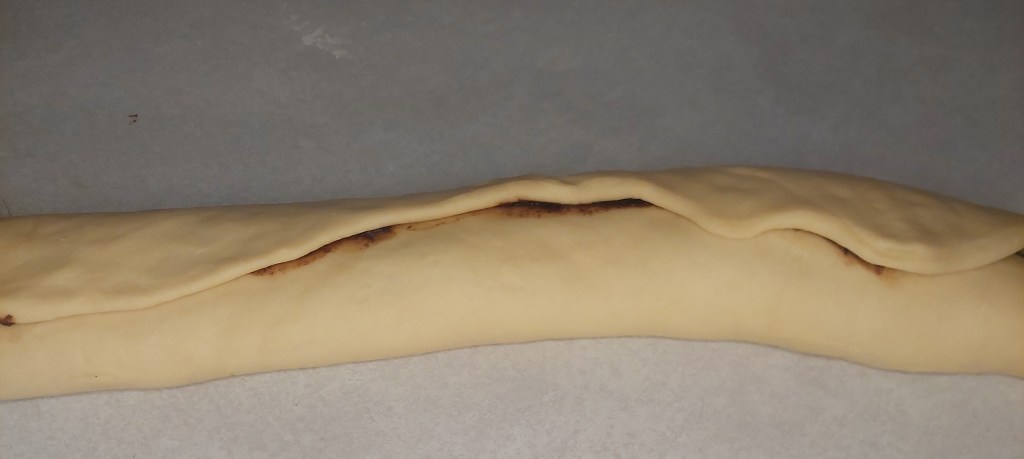
- Spread filling mixture over dough
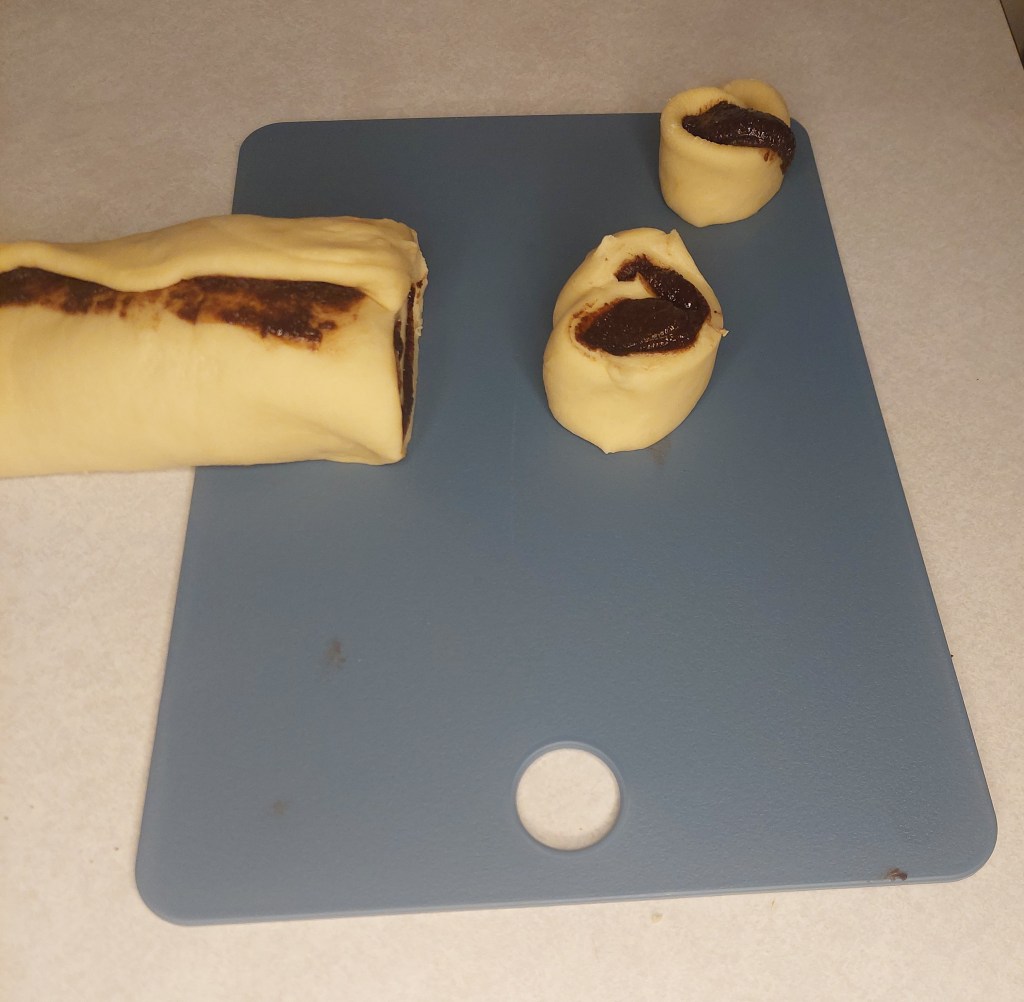
- Roll up dough and cut “rolls” from dough to desired size
- In a casserole dish cover and let rise for another hour
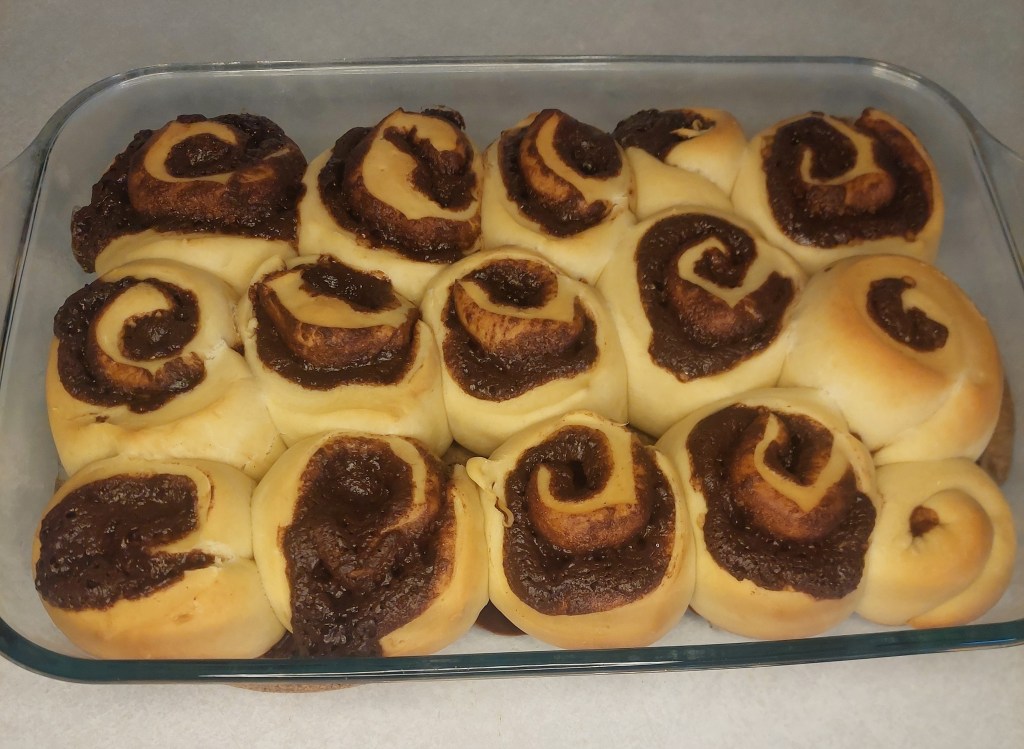
- Bake 20-25 minutes at 350 degrees
Step by Step Directions
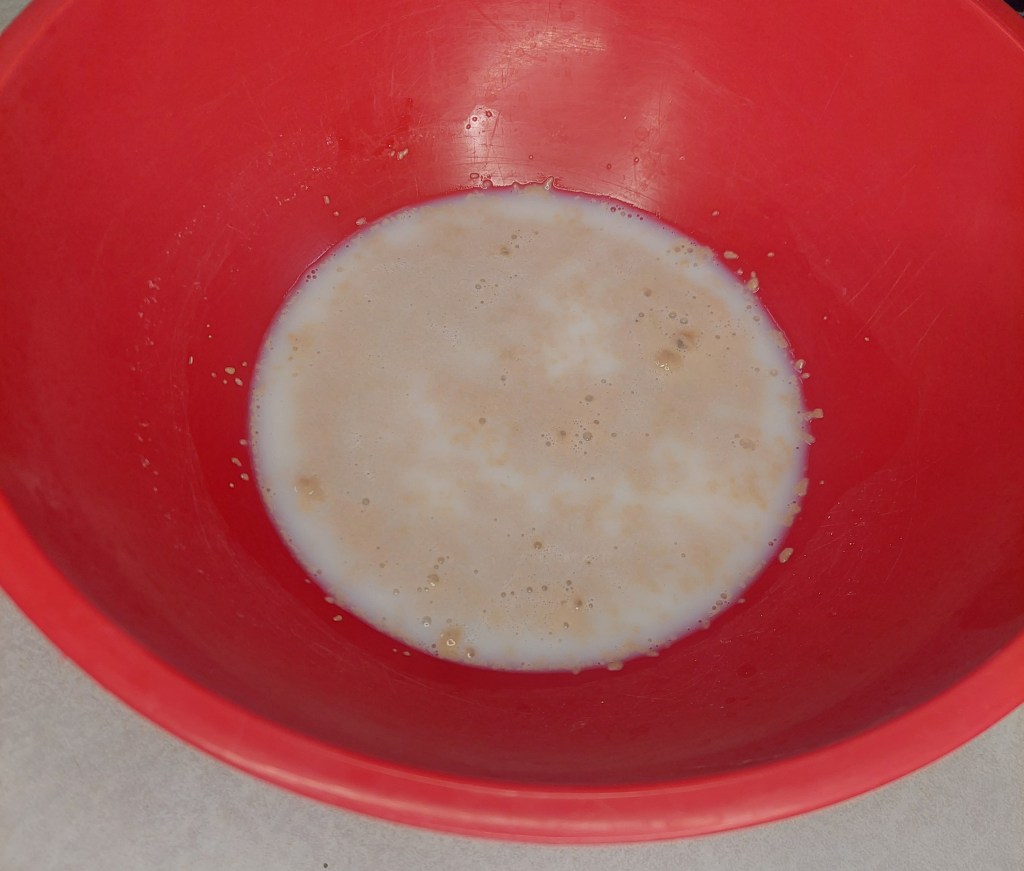
Warm up the milk. A lot of baking recipes are all going to be incredibly precise, and I’m sure they have their reason to be, however, I would say that the vast majority of cinnamon rolls I have ever had have been pretty good, so either I don’t have a very refined palate or cinnamon rolls taste pretty good no matter what. So if you want to be precise go ahead, but the milk should be warmed up to about the same temperature as your skin (about 30 seconds in the microwave). Then if you pour it directly over your yeast and sugar it should mix pretty well.

Then it should sit for 15 minutes, this process is called “allowing the yeast to bloom”, which makes it sound more like gardening and less like baking, but either way you’re cooking with a fungus and that’s pretty cool.
Now is the part where I think the mixture looks the most disgusting, adding in the butter and egg. You can use melted butter but then your eggs might start to cook, so softened is probably the best.
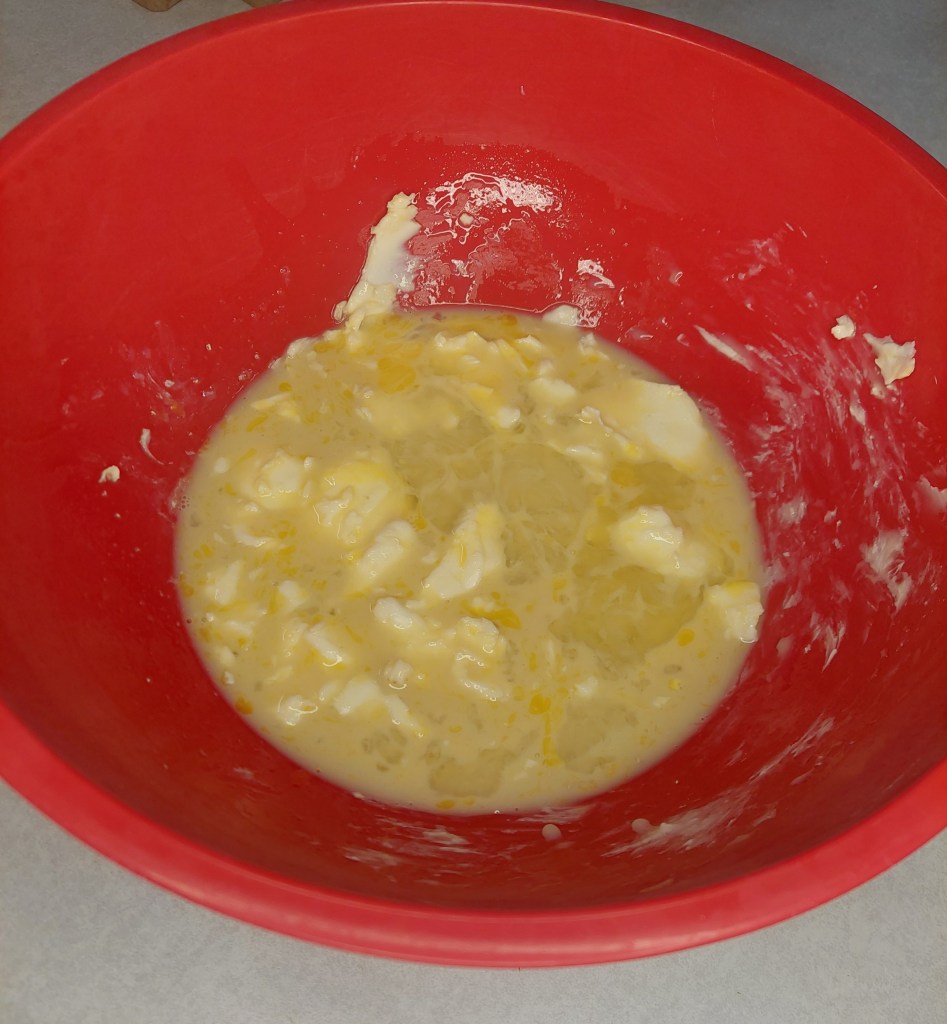
Then it comes time to add in your flour and mix. I generally add in 75% of the flour, mix and then add the rest slowly. Ideally we don’t want to knead the bread like it’s dough, we’re not looking for bready cinnamon rolls. We want to mix the dough so that it’s still a little sticky, but not so sticky that it’s still sticking to the bowl.
Then either butter/flour a bowl (or make it so it doesn’t stick) and cover. You can then throw it in the fridge overnight or let it rise for an hour.
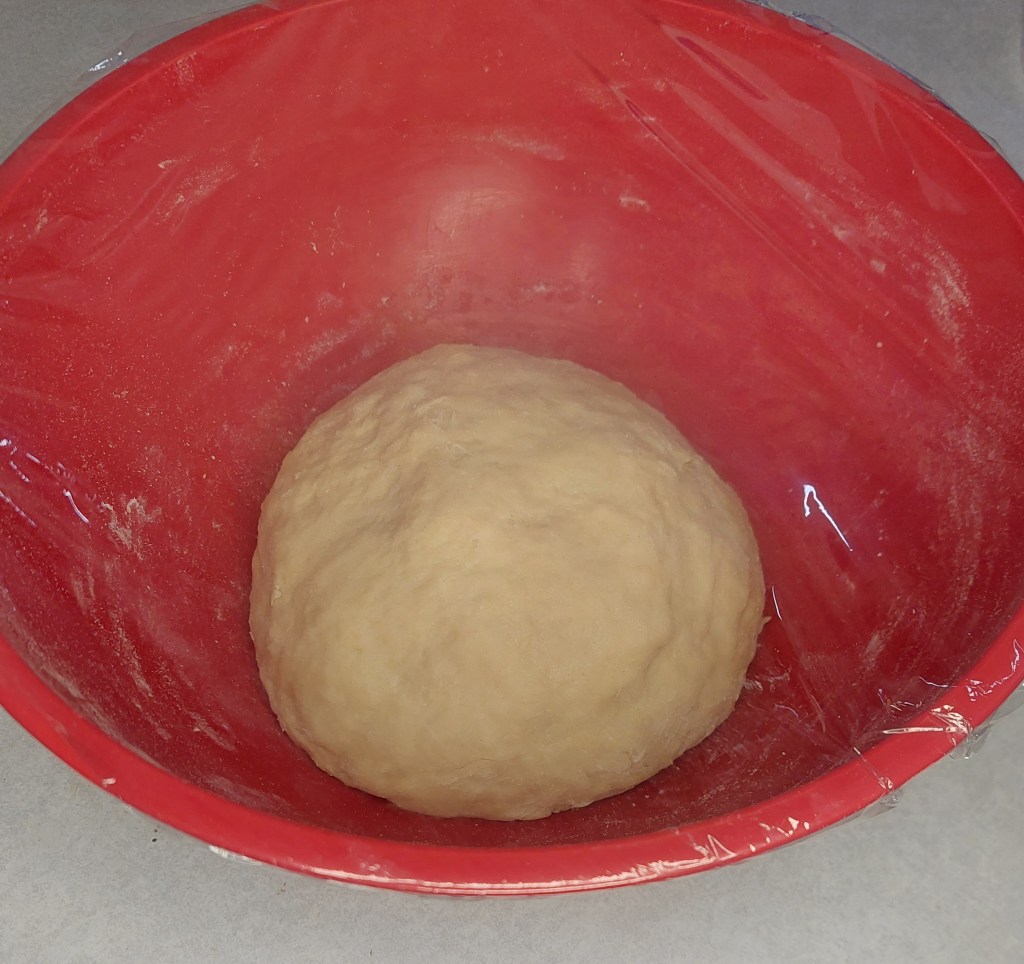
Your dough should “double”. Because volume is a tricky thing to measure with your eye it should just be noticeably bigger. When you touch it for the first time it might deflate a little, that’s alright, gas happens.

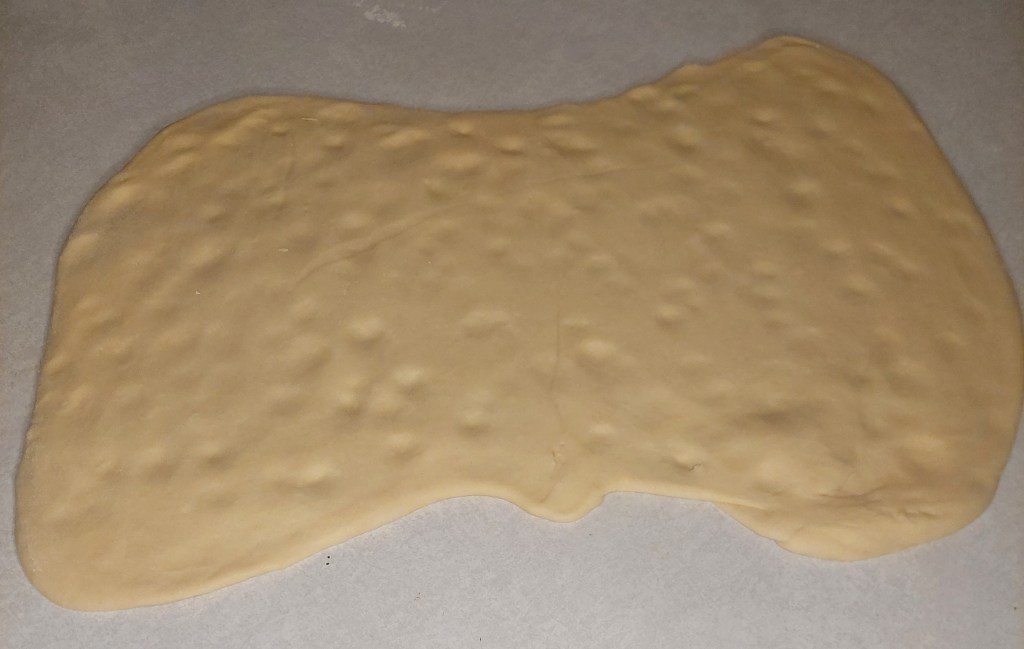
Roll out your dough. You’re not going to get a perfect rectangle and that’s alright, you can cheat the dough a little when you roll it up. Just make sure it’s roughly the same thickness throughout.
Why does my dough look like the surface of the moon? Because each one of those little pockets becomes a place where our filling can seep in and adhere to the dough. And it allows me to pretend I can play the piano for just a brief moment.
Now, I bet you’re wondering why chocolate? One of my biggest pet peeves with cinnamon rolls is the ratio of filling to dough, in this case because the chocolate melts really easy it makes a lot more filling, you’ll see later on but it really drips out of the dough.
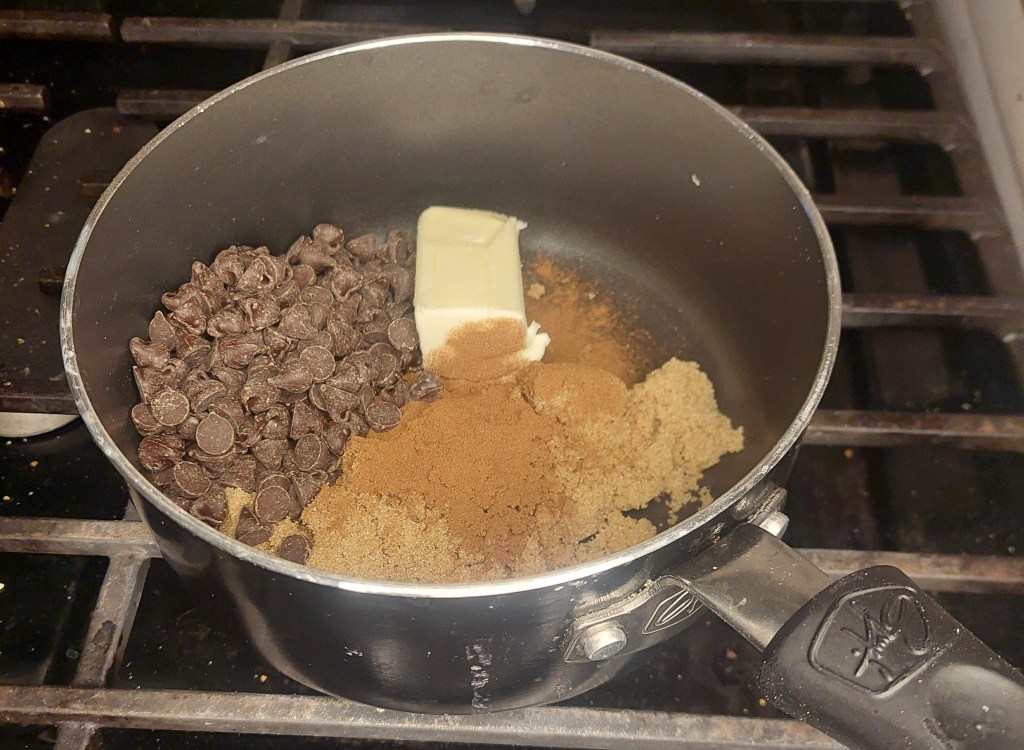
The butter should melt pretty quickly and you should be able to make a pretty uniform consistency fairly simply (You can also make this in the microwave, the stove just allows for a more even melt/combining in my opinion).
Now you get to pour your mixture over your dough, make sure that you’re pushing the filling down into the dough in those little pockets we created.
The interior should be filled, however leave a little bit around the edges so that you have something to “end” your roll.

Pick a side, and then roll up your dough. This should not be a tight roll, you don’t want your filling squirting out from your dough. This can be accomplished by slightly picking up your dough before you bend it forward. When you get to the end press the live edge into your dough and rotate it so your dough is edge up.
Put a cutting board under roll (or don’t, I don’t know if you have a security deposit). You probably have an end that is smaller than the rest of your log, you can cut that off (top corner of cutting board). Then cut your rolls off your dough. Some people recommend bread knives or dental floss, a normal knife works just fine. What size your roll is is personal preference, I normally aim for 1.5 to 2 inches, but just make sure they are consistent and remember they are going to rise again (and in the oven).
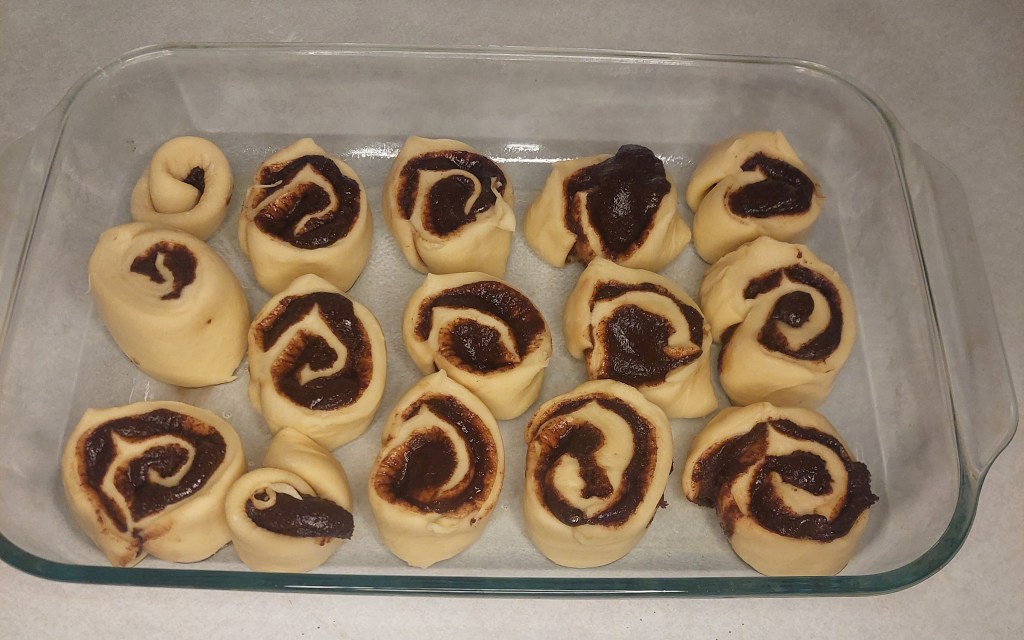
Add butter or cooking oil to the bottom of a casserole pan then arrange your rolls with as much space as you can manage between them. Cover them and let them rise for another hour.
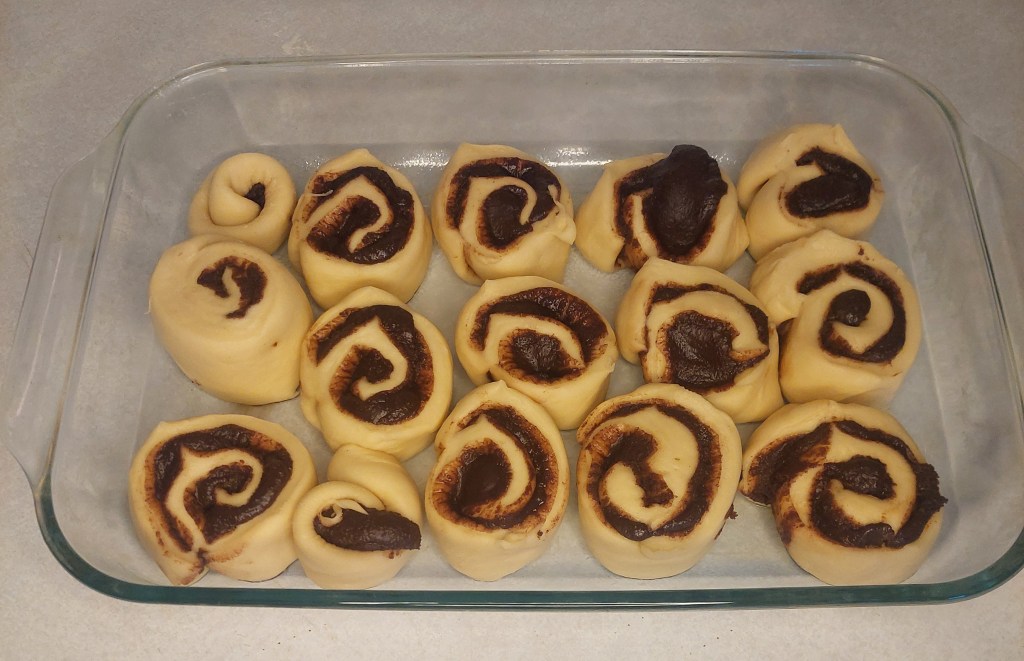
After the rolls have done their second rise it’s time to throw them in the oven. 350 degrees should work, then depending on the size you can bake them for 20 minutes, or until they are as golden brown as you want.
Variations
- Add additional spices (pumpkin spice, nutmeg, cocoa powder, etc.)
- Add maple syrup to the filling
- Don’t include the chocolate (maybe 1.5 – 2x the filling in that case)
- Add a citrus zest (orange goes well with chocolate)
- Make your own frosting (some people go nuts for cream cheese)
Unsolicited Feedback
- CD: Kind of tastes like that hazelnut spread thing.
- UF: If you were expecting the flavor of a cinnamon roll this is not that.
- GZ: You ruined a perfectly good cinnamon roll. Look at it, it has anxiety.
