
Buttermilk Biscuits
Second only to your grandmother’s recipe
⏲️ Prep Time
15 minutes
⏲️ Cook Time
15 minutes
🍴 Makes
~16 biscuits
Ingredients
- 2 1/2 cups flour
- 2 tablespoon baking powder
- 1 teaspoon salt
- 1 teaspoon sugar
- 8 tablespoon (1 stick) butter
- 1 cup buttermilk
- (optional) melted butter for top of biscuit
Directions
- In bowl mix together flour, baking powder, sugar and salt
- “Cut” in butter (create slivers of butter and coat in flour mixture)
- Stir in buttermilk
- Roll out dough into a flat sheet, fold in thirds, roll out again (repeat 6-8 times)
- Cut out biscuits to desired shape/size
- Bake in 425 degree oven for 10 – 20 minutes depending on size of biscuit (if making 16 then recommended duration is 14 minutes)
Step by Step Directions
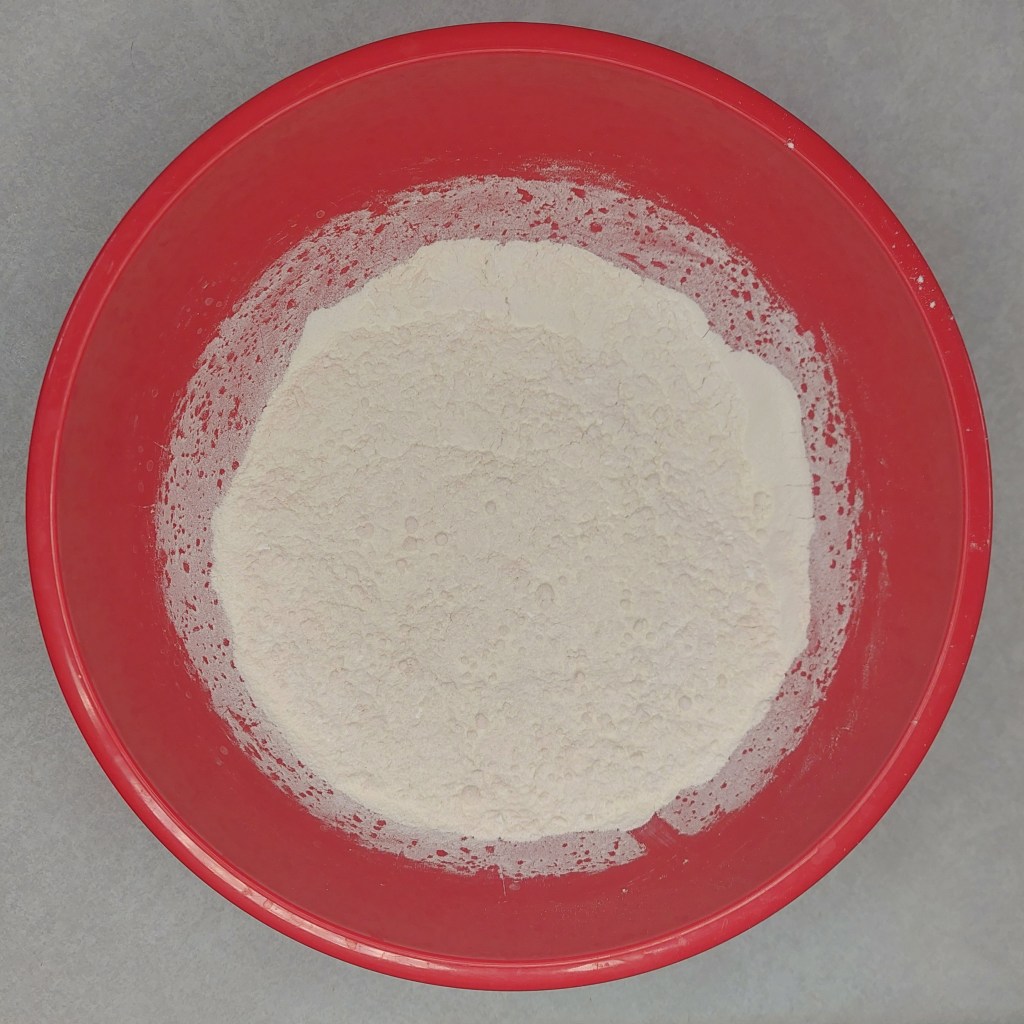
Start by mixing together all of your dry ingredients: the flour, baking powder, salt and sugar. You don’t need to be vigorous, just have it be evenly distributed.
Next you’ll want to “cut” the butter in, there’s special tools that exist for this, but you can also just go to town with a butter knife. If you really want to go crazy you could also grate your butter into the flour mixture.
The goal here is that the butter will evaporate in the oven and create the rise/layers in the dough. You need the butter to still be a solid, otherwise we’d just melt it right in.
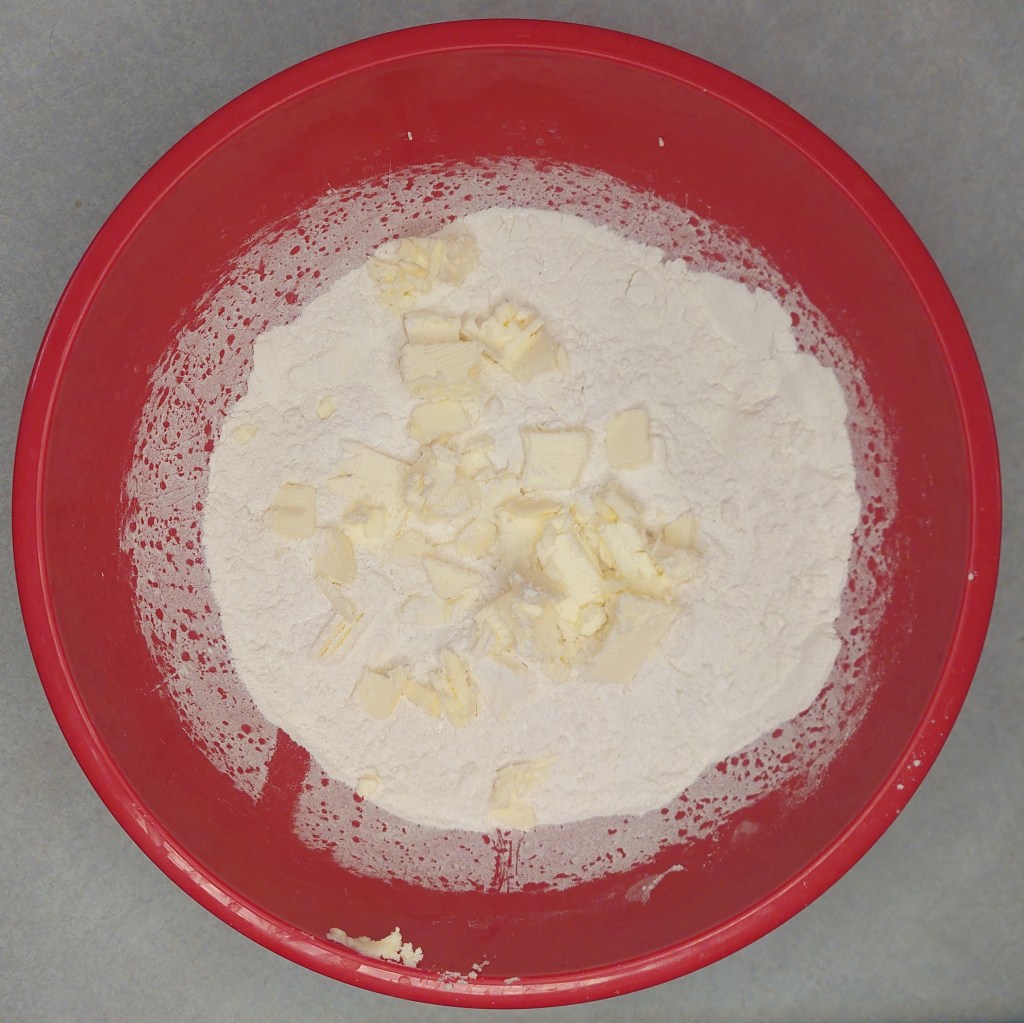
Stir the butter into your flour, you should still be able to see the butter, but it should be completely covered in flour.
We don’t want the butter to get too warm and start melting, so if you get concerned just pop it back in the fridge for a couple of minutes and you’ll be fine.
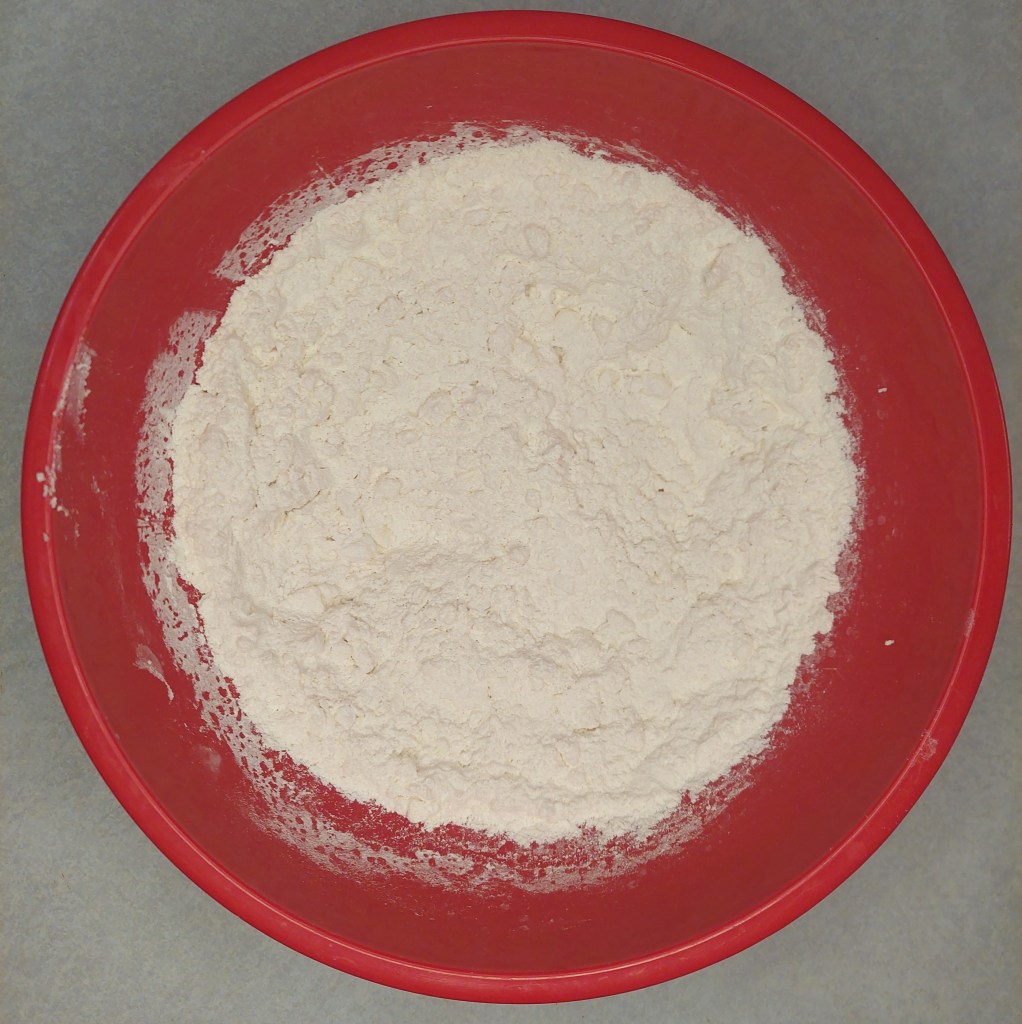
Now you’ll want to stir in your buttermilk and create a shaggy dough.
Make sure you buy your buttermilk at the store and support big dairy (1 cup milk + 1 tablespoon lemon juice/vinegar, mix and rest for 5 minutes).

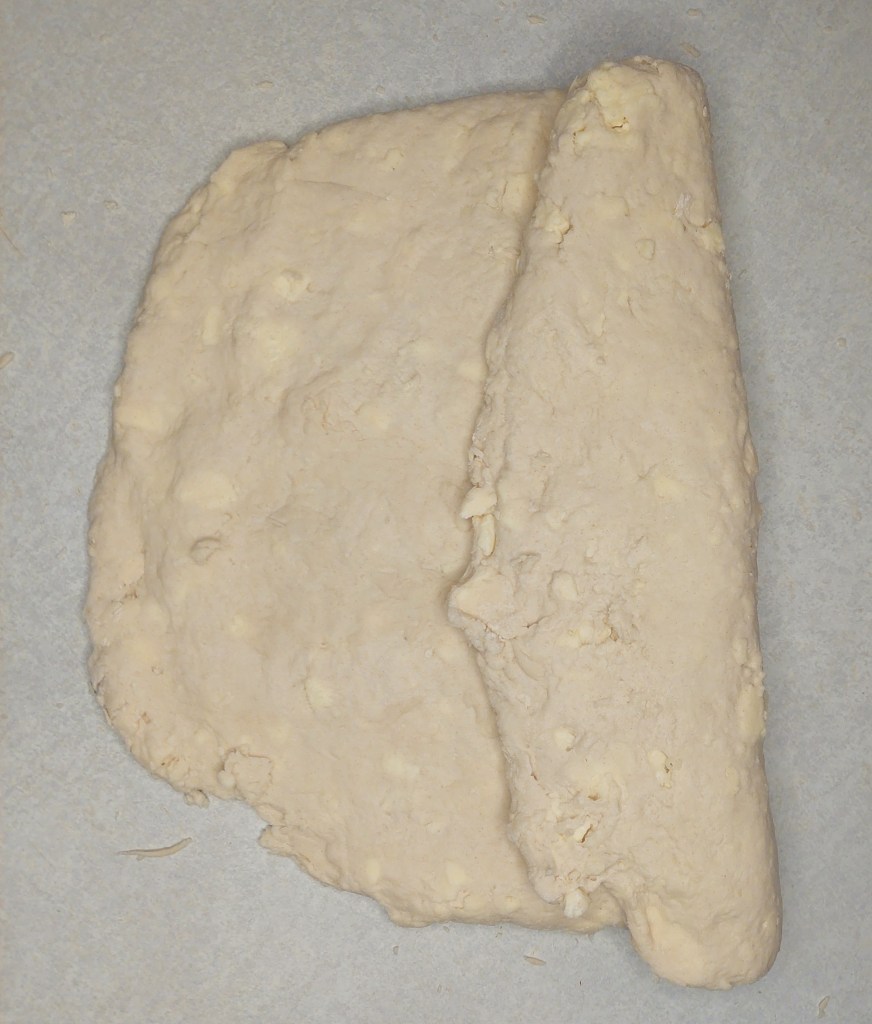
Turn the dough out onto a flat surface, I prefer a light dusting of flour, especially if your butter is starting to warm up, it just makes things a little easier.
You’ll want to flatten everything out into a rectangle, some people prefer to use a rolling pin for this step, but I’ve found that you don’t want to over work the dough, so I just pat the dough down like you would a pillow.
Once you have your rectangle you’ll want to fold it in thirds and stack them on top of each other, this will create the layers in the biscuit.
Repeat that process (flattening and folding) as many times as you want, but at least 6 times.
It’s at this time I like to preheat my oven, you’ll want it to be 425 degrees.
Cut out your biscuits, I prefer to just grab a glass and use that to get the round shape, you’ll want to collect the leftover dough, reroll it and then keep cutting biscuits until you run out of dough.
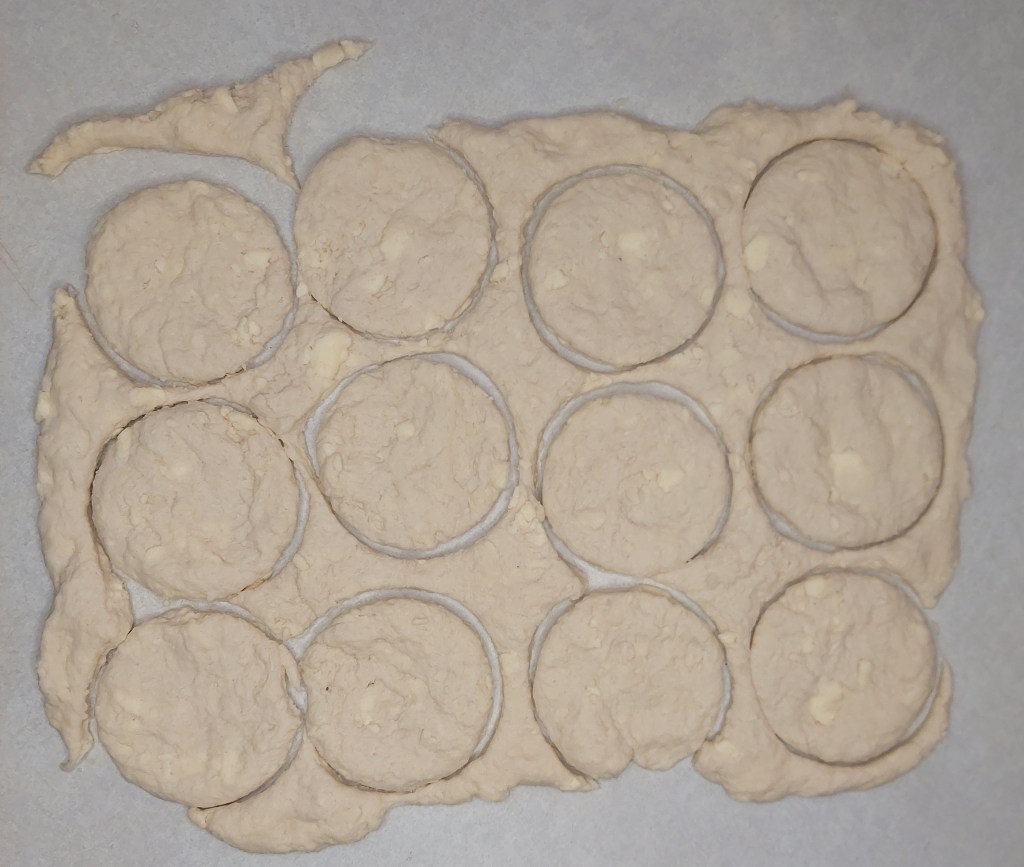
How big or small you make your biscuits is up to you, but remember the old rhyme for placing the biscuits on your cooking sheet:
“Biscuits shoulder to shoulder will stand tall like soldiers, while biscuits apart will be crispy and dark.”
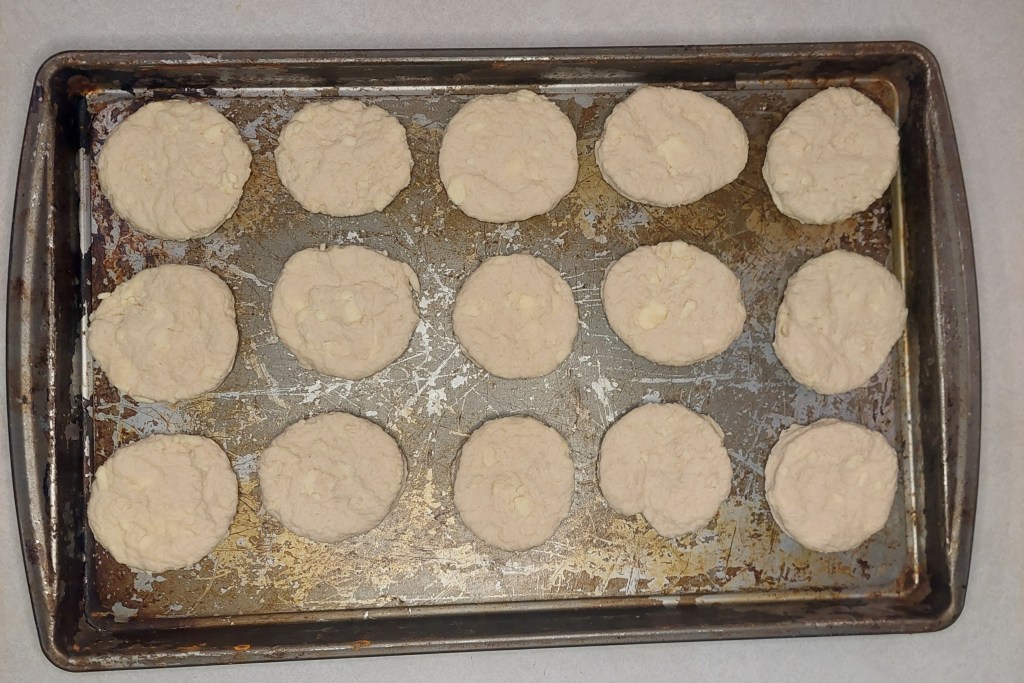
Now you can pop your biscuits in the oven and bake until they are your desired level of doneness. Remember that larger biscuits will take longer to cook, but I have never personally made any that were done cooking in less than 12 minutes, or that baked for longer than 20.
Enjoy.

Variations
- Brush the tops with butter/honey/jam
- Vary the size of the biscuit/bake it as a single pan.
- Don’t use buttermilk if you don’t want to (but still use dairy for baking purposes)
Unsolicited Feedback
- SK: My grandma’s taste better.
- JO: It tastes like a hug feels.
- EG: I do love a good biscuit.
